Guide
No Drill Gun Mount: 6 Simple Steps to Install With VHB Tape
No drill gun mount guide: install a magnetic pistol mount in your car or truck with VHB tape and primer, where tape holds best and how long to wait.
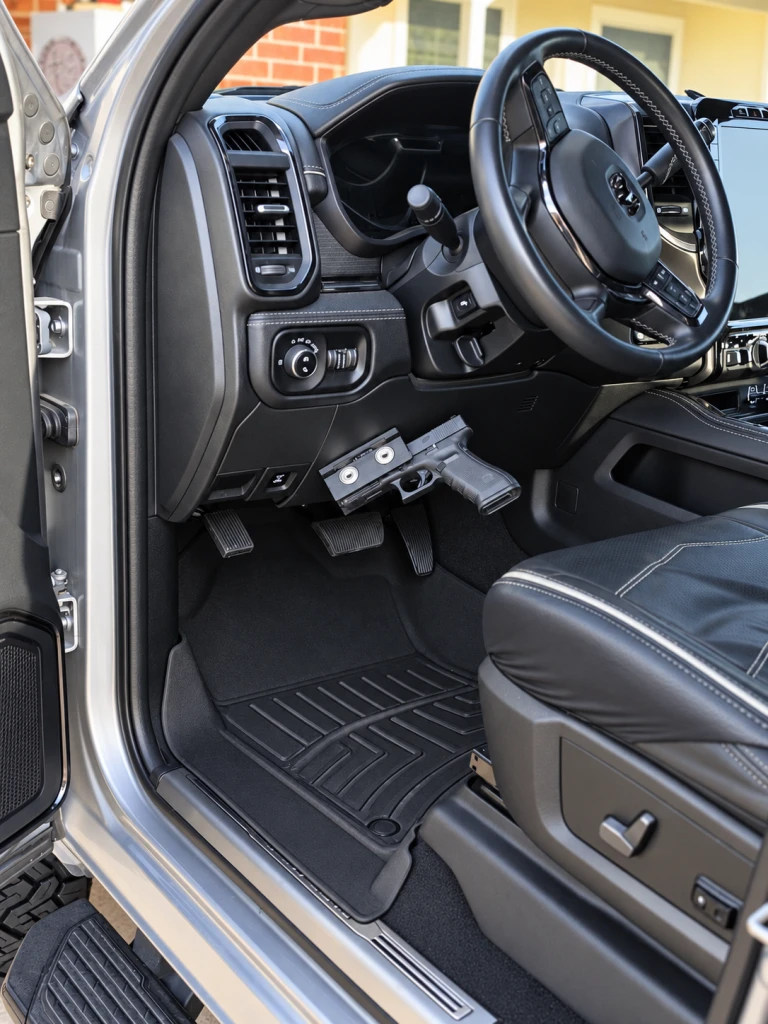
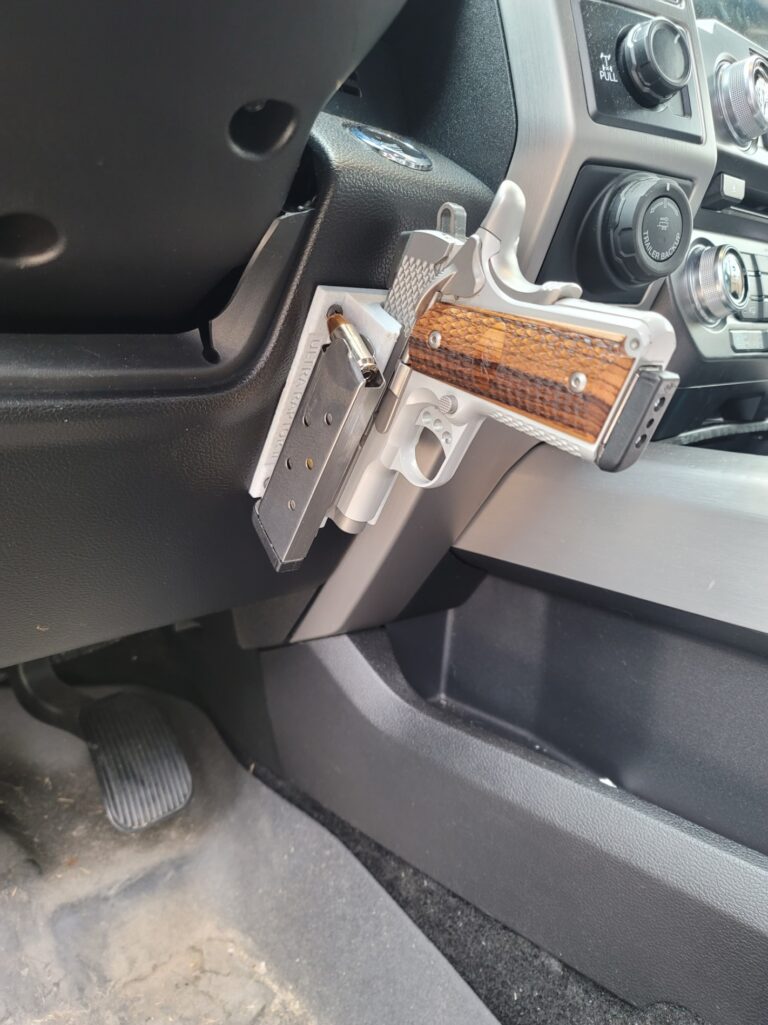
Plenty of drivers want a pistol mount in their car or truck but do not want to put screw holes in the dash. Maybe the vehicle is leased, maybe it is brand new, or maybe you just want the option to move the mount later. A no drill gun mount is possible: At The Ready’s magnetic pistol mounts install either with the included screws or with the VHB tape on the back of the mount and the primer that comes in the box.
This guide walks through a no drill gun mount install from start to finish: choosing a surface the tape can hold, prepping it, applying the primer, pressing the mount in place and giving the bond time to cure. It also covers when screws are the better choice, because tape is only as good as the surface under it.
Key takeaways
- Every At The Ready mount ships with mounting screws, VHB tape and primer, so you can choose screws or a no-drill install.
- In a vehicle, use the tape together with the included primer, not the tape alone.
- Tape needs a flat, clean, smooth surface. Finding that spot is the hardest part in newer vehicles.
- 3M rates VHB tape at full bond strength after about 72 hours at room temperature.
- Test the spot with your empty pistol from your normal seat before anything is stuck down.
What You Need for a No Drill Gun Mount
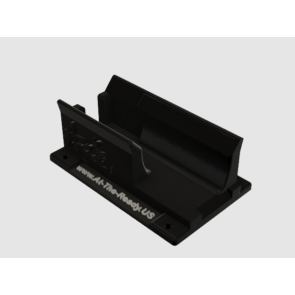
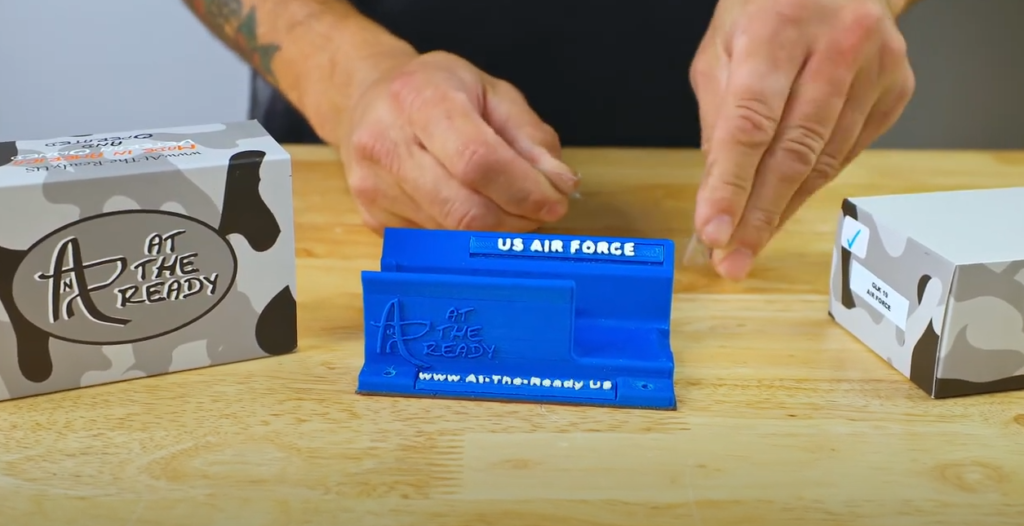
Everything for a no-drill install comes in the box with your mount: the VHB adhesive tape already on the back of the mount, a primer for the surface, the mounting screws (in case you change your mind) and the installation steps. Besides that, you need:
- An alcohol wipe or a clean cloth with rubbing alcohol to clean the surface.
- Your pistol, unloaded, to test the position: magazine out, chamber checked empty.
- Your vehicle owner’s manual, to see where the airbags are, including any knee airbags in the lower dash.
- About ten minutes for the install, and a few days before you rely on it.
The mount itself is designed from the actual slide of one pistol model and holds it with rare-earth magnets, so the pistol seats the same way every time. That only works if the mount stays put, which is why the surface and the prep matter so much more than the tape itself.
Step 1: Find a Surface the Tape Can Hold
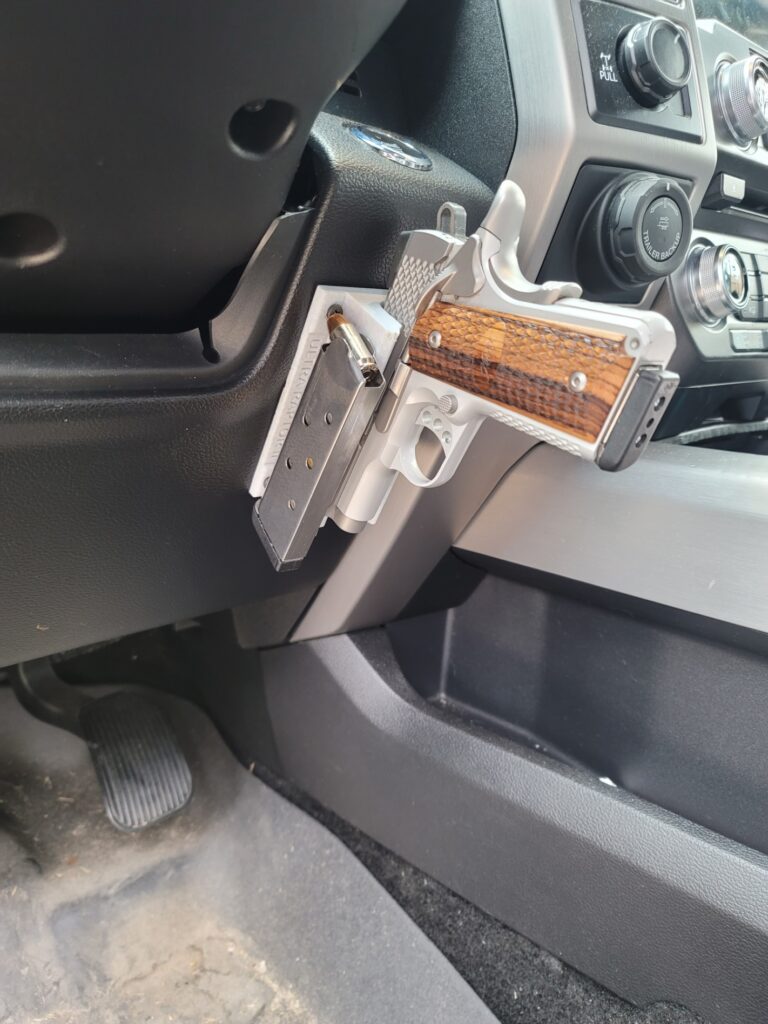
VHB tape bonds best to a flat, smooth, solid surface. Curved, heavily textured or flexible plastic gives the tape less contact, and less contact means a weaker hold. Look for a flat section on:
- The side of the center console, one of the most common spots in cars and trucks.
- A lower dash panel, clear of the knee airbag area and the pedals.
- A flat side panel you can reach from your normal seat.
Our customers say this is the hardest part. As one put it, the only issue was “finding a flat surface to mount it on,” and another noted a semi-flat surface is “not easy in newer trucks.” Take your time here. A no drill gun mount on a good surface beats a rushed install on a curved one.
Step 2: Test the Spot With Your Empty Pistol
Before you peel anything, clear your pistol, seat it in the mount and hold the mount where you plan to install it. From your normal driving position, check that:
- You can take a full grip without leaning out of your seat.
- The mount and pistol stay clear of airbags, pedals and controls.
- You will not bump the grip getting in or out.
- There is room to draw straight out of the mount.
If your knee touches the grip, the angled mount adapter ($14.99, right- or left-handed) angles the mount away from your leg. It is easier to add it now than to move a bonded mount later. Mark the spot lightly with a pencil or a strip of painter’s tape.

Step 3: Clean the Surface
Dust, protectant sprays and skin oil keep tape from bonding. Wipe the marked spot with rubbing alcohol and let it dry completely. Avoid household cleaners that leave a film. If the panel has been treated with a shine product, clean it twice.
Step 4: Apply the Primer
In a vehicle, use the tape together with the included primer rather than the tape alone. Primer helps the adhesive grip automotive plastics, which are often harder for tape to hold. Apply it to the marked area as your instructions describe and let it dry before you place the mount.
Step 5: Press the Mount Firmly in Place
Peel the liner from the tape, line the mount up with your mark and press it on hard. Firm, even pressure across the whole mount is what makes VHB tape grab, so hold it for a good while rather than a quick tap. Do not slide it around once it touches the surface.
Step 6: Let the Bond Cure Before You Rely on It
VHB tape gets stronger over time. 3M rates it at full bond strength after about 72 hours at room temperature, so a taped mount is strongest if you wait that long before you put your pistol in it. Cold weather slows the cure, so give it extra time in winter or park somewhere warm. You can read more about how this tape works on 3M’s VHB tape page.
When Screws Are the Better Choice
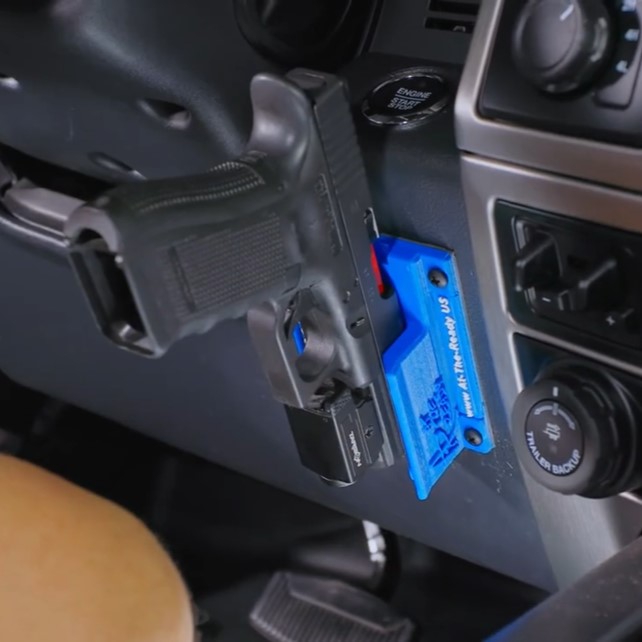
A no drill gun mount is not right for every spot. Use the included screws instead when:
- The only reachable spot is curved or heavily textured.
- The panel flexes when you press on it.
- You want a mechanical hold and are comfortable putting small holes in the panel.
Screws give a mechanical hold where the panel is thick and solid enough. Tape with primer avoids holes but needs that clean, flat, dry surface. Either way, follow the instructions in your box, and watch the two-minute installation video before you start.
After the Install: Practice and Safe Habits
Once the bond has cured, practice with an unloaded pistol. With the magazine out and the chamber empty, seat the pistol and draw it many times, until your hand goes to the grip without thinking.
A mount is not locked storage. When you leave the vehicle, take the pistol with you or lock it up, and check the laws in every place you drive. Laws on carrying a handgun in a vehicle vary by state and city.
Frequently Asked Questions
Can I install a no drill gun mount in my car or truck?
Yes. At The Ready mounts can be installed with the VHB tape on the back of the mount and the included primer, with no drilling. In a vehicle, use the primer with the tape rather than the tape alone.
How long before I can use a taped pistol mount?
3M rates VHB tape at full bond strength after about 72 hours at room temperature. Press the mount on firmly, let the primer dry first, and give it that time before you rely on it.
Will the tape hold on a textured dash?
Tape holds best on flat, smooth, solid surfaces. On heavily textured or curved plastic it has less contact. If that is your only spot, the included screws are the better option.
Can I move the mount to another vehicle later?
VHB tape is made for long-term bonding, so plan on a taped spot being permanent. If you expect to move the mount to another vehicle, call At The Ready at (469) 833-6651 before you start, or use the included screws.
How much does a magnetic pistol mount cost?
Standard mounts start at $95, and the optic-ready version, where offered, is $10 more. Colors and up to 18 characters of custom text are included.
Find the magnetic mount made for your pistol, with screws, tape and primer in the box.
Find your mountAbout At The Ready
At The Ready designs, prints and assembles model-specific pistol mounts in Wylie, Texas. Each mount is built from the actual slide of the firearm it is made for. We are veteran-owned and operated.